

In this tutorial, you will learn how to use the
pre-illustrated Shapes in Microsoft
Office Word to design an elegant TV3
logo (with permission).
We assume you have a basic understanding of MS Word like clicking,
dragging, right-clicking, copy and paste etc. and other basic operations.
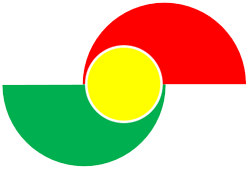
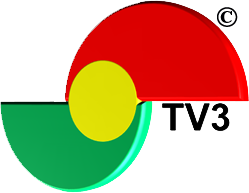
Here is what a TV3 logo will look like when you are done:
Here is what a TV3 logo will look like when you are done:

· Let us begin from scratch by creating a new Word document for our design
Step 1: Inserting an Arc shape into the
document
- On the Insert tab, click on Shapes and select Arc under Basic Shapes
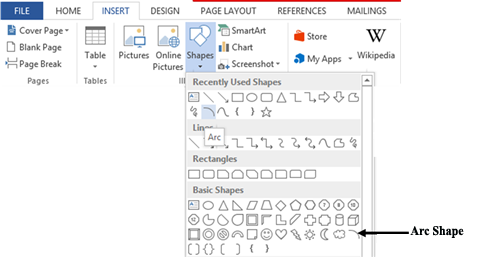
- Hold down the [Shift] key, click-and-drag to draw an Arc to your desired size
- Make sure the object is selected
- On the Format tab, change the Shape Fill colour to Red and Shape Outline colour to No Outline
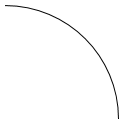
Result:
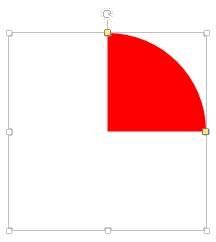
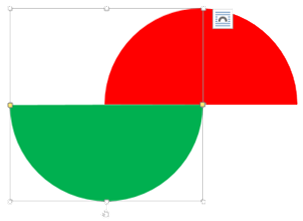
Step 3: Changing the shape of the object
- Click-and-drag the top Reshape handle (yellow) to the left direction to form a semi-circle
Step 4: Making a copy of the object
- Hold down the [Shift] key as you right click-and-drag on the object downwards and release your mouse button
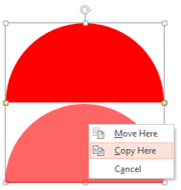
- From the shortcut menu, select Copy Here
- Change the Shape Fill colour for the duplicated object to Green
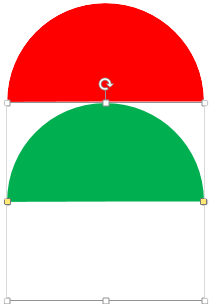
Step 5: Rotating the object as needed
- Select the second object you want to rotate upside down
- On the Format tab, click on Rotate and select Flip Vertically
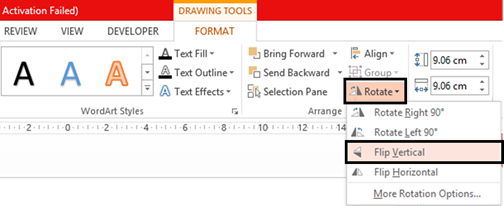
NB: The object will be turned
upside down (i.e. mirrored)
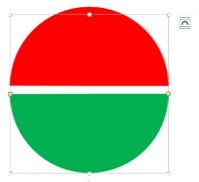
Note: You can also hold down the [Shift] key as you click-and-drag on the Free Rotate handle to rotate the object upside down
- Position the second object to the middle left of the first object as shown below:
Step
6: Drawing a circle at the
middle of the objects
- On the Insert tab, click on Shapes and select Oval under Basic Shapes
- Hold down the [Shift] key and draw a Circle at the middle of the objects
- Change the Shape Fill colour to Yellow; Shape Outline colour to White and Weight to 3pt respectively
Step 7: Grouping the objects as needed
- On the Home tab, click on Select drop-down arrow and click on Select Objects
- Click-and-drag over the objects to select all
- Right-click on the selected objects, point to Group and select Group
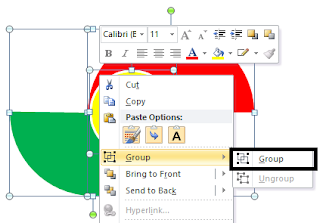
Note: You can
also hold down the [Shift] key as you click on each object
to select for grouping
Step 8: Applying 3D effects to the object
- With the object still selected, click on Format tab, click on Shape Effects, point to Preset and select Preset 12
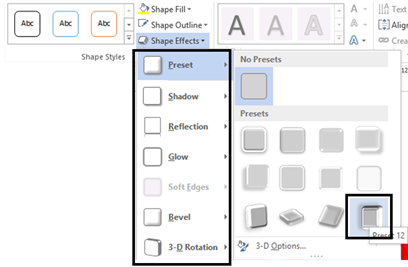
- Change the Bevel to Cool Slant and 3D Rotation to Perspective Contrasting Left respectively
Final Result:
- Save the document as TV3 logo in a private folder or on your Flash drive
Self-Challenge
- Use Arc and Wave illustrated shapes respectively to design a Pepsi logo.

- Apply 3D effects of your choice to the object
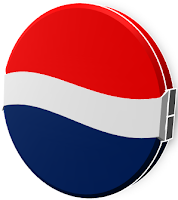
- Save the document as Pepsi Logo in a private folder or on your Flash drive
Note:
I will continually be
adding other practical tutorials ranging from Windows Paint to Adobe Photoshop every week
Source: BB Series


No comments:
Post a Comment